My grandmother and her siblings managed a confectionery shop when I was a youngster. My grandma used to give us care packages full of sweets because they lived in a faraway state. Every package included fudge, which we always consumed first.
I didn’t have a candy thermometer when I prepared my first batch of homemade fudge, but I figured I could get by without one. My first effort at making fudge was a terrible failure since I obviously did not realize how important it was to use one.
When you first start making fudge, there is a learning curve as well. With the first few batches, it’s possible that you’ll experience problems, and it’s also
Ingredients :
3 cups sugar
Cocoa powder, 2/3/ cup (I prefer unsweetened Dutch-processed)
One-fourth cup of salted butter (room temperature)
1/8 teaspoon salt
1 and a half cups of whole milk
Vanilla extract, 1 teaspoon
Read the instructions and notes carefully before starting.
You’ll notice that some things are in bold. This is to make it easier to follow the instructions correctly, which is crucial if you want your fudge to be creamy and delicious.
An 8-inch square baking pan should be buttered. Place aside.
Rub butter all over the medium-heavy saucepan you’ll be using, paying extra attention to the sides.
Then, combine the sugar, cocoa, and salt in that pot. With a wooden spoon, mix in the milk (not a whisk or metal spoon).
It takes around 15 minutes for the mixture to reach a vigorous boil while stirring continuously over medium heat.
Stop stirring, lower the heat to low-medium, and allow it to cook for about 30 minutes, or until the temperature reaches 234 °F (112 °C) – For a precise reading, use a candy thermometer.
Remember: After lowering the heat to medium-low, do not stir.
Remove the pot from the heat when it reaches 234 °F (112 °C), do not mix, and then add the butter and vanilla. Once more, don’t move. Allow the pot to sit for 30 minutes or until it has cooled to room temperature (110°F/43°C).
Once the liquid has cooled to room temperature, stir it continuously for about 7 minutes, using just a wooden spoon, until the mixture starts to lose its sheen. While you don’t want to under beat the mixture, you should stop stirring when the mixture’s surface begins to seem matte or dull.
Pour into the prepared pan, spreading it out as necessary, and allow it to fully cool.
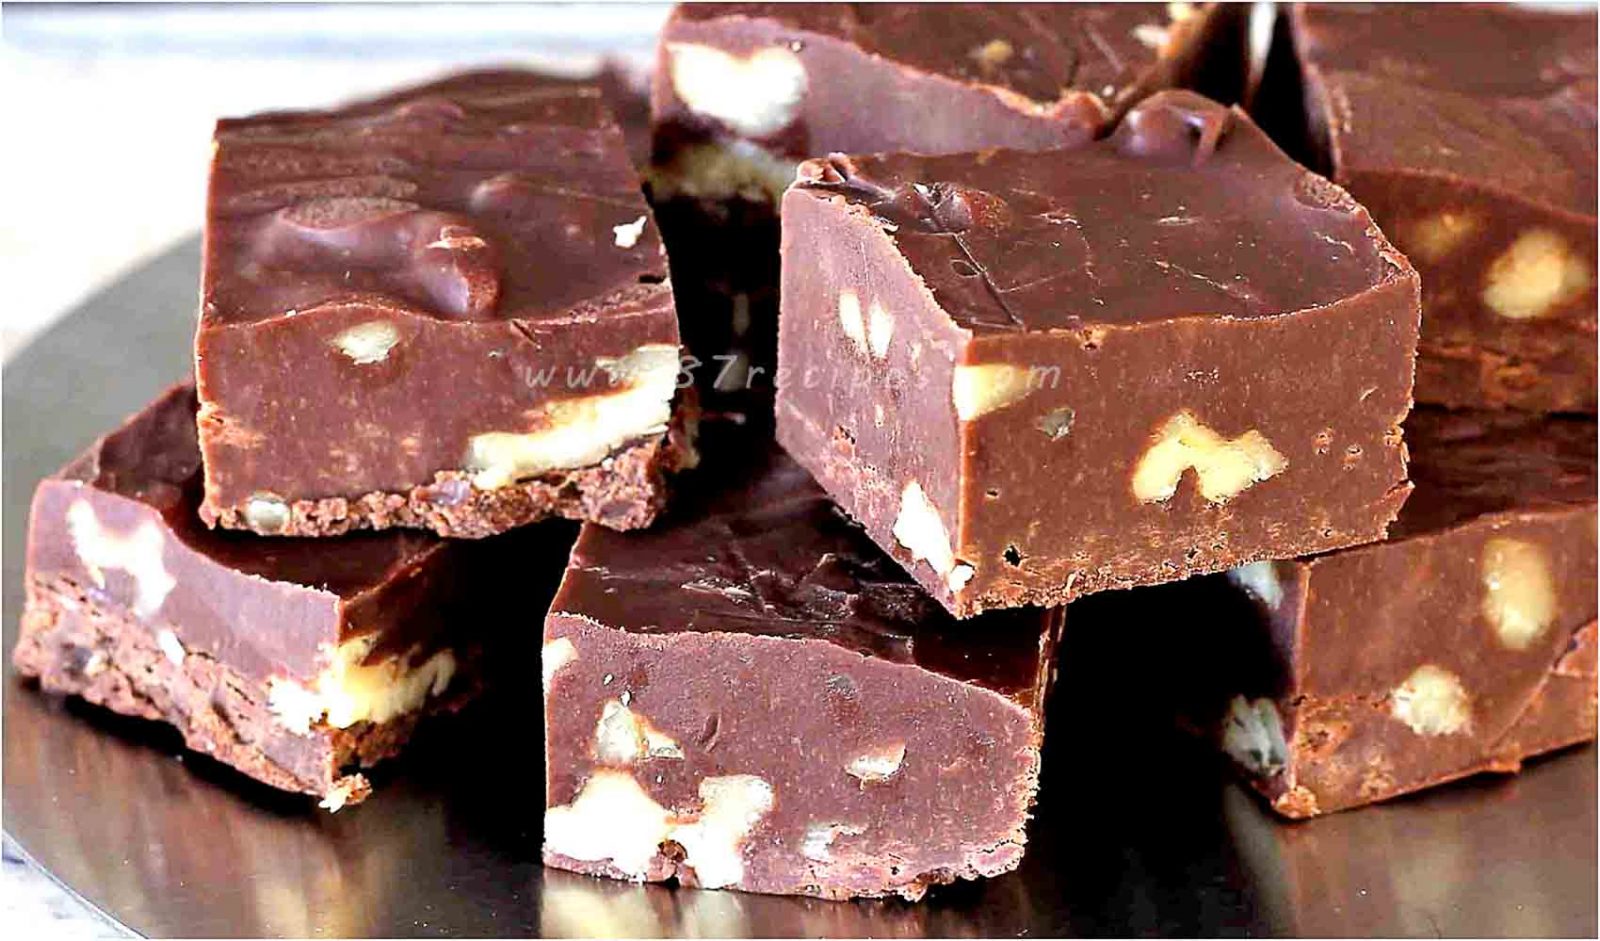
Cut into squares once completely cold. It may be kept in the refrigerator for three to four weeks or at room temperature for up to two weeks in an airtight container.
Fudge may be frozen by first wrapping it tightly in freezer wrap to keep moisture out, placing it in a heavy-duty freezer bag, pressing out the air, sealing the bag, and putting it in the freezer. Fudge may be frozen for up to three months if it is well-sealed.
Because if I leave the fudge out in the open, it will all be consumed before the end of the day, so I always freeze part of it. When I tuck
Notes :
To avoid the mixture sticking during cooking, it’s crucial to use a hefty pan with good heat distribution. Additionally, buttering the pan will aid in preventing the crystallization of the sugar by preventing it from clinging to the sides.
When it comes to stirring and when not to stir, carefully follow the instructions. The precise nature of this is crucial to prevent the sugar from crystallizing. Additionally, the mixture might seize and turn gritty, ruining the fudge.
Since temperature is crucial to the success of the fudge, a candy thermometer is required to get an accurate reading.
There is a method you can attempt if you do not have a candy thermometer, but it is not foolproof. Put a tiny quantity of the mixture in a cup of cold water to start. The mixture is prepared for the following stage if a soft ball forms and flattens when pushed between your fingers.