Today I want to share with you one of the best recipes for making burger buns
It is believed that fast food is unhealthy food, but if you do not overindulge in greasy french fries and sweet soda, and cook your homemade burgers, then such food will turn out to be not only very tasty but also healthy!
And to cook real hamburgers, we need special buns, which we will prepare now
The advantage of such buns is that they can be used not only for burgers, but also as bread for first and second courses, and also served with jam or butter for tea and coffee
These buns are low in calories due to the small amount of sugar and butter, and when prepared according to this recipe, they turn out very soft, spongy, and snow-white with a golden crust that is crunchy on the inside
We will prepare 20 buns, and believe me, this is not a lot, they are very tasty and are quickly eaten
ingredients :
For the test :
900 gr – flour
240 ml – water
240 ml – milk
4 tbsp – Sahara
2 – eggs
80 gr – butter
40 gr – pressed yeast (or 15 g dry)
2 tsp – salt
For lubrication :
1 – egg
2 tbsp – milk
sesame
Method :
First, let’s prepare the dough
Pour warm, but not hot, milk and water into the bowl in which we will knead the dough
Add compressed yeast to the liquid; if you don’t have fresh, you can replace it with dry yeast, which will require 3 times less
Mix everything well so that the yeast disperses; if it is not completely dissolved, it’s okay
Add half of the total amount of sugar, mix again, and pour in about 1 cup of flour
Bring the mixture to a homogeneous state and remove the bowl to a warm place to rise
If the yeast is fresh, it usually takes 15-20 minutes. As soon as a fluffy yeast cap appears on the surface, you can begin further preparation of the dough
Pour the remaining sugar into the dough, add eggs, and salt, and mix everything well
Pour some of the measured flour into the bowl, and while the dough is soft, knead it with a whisk
As soon as it becomes difficult to stir, add all the remaining flour and knead the dough thoroughly. The kneading process could be entrusted to a planetary mixer; it can do it in a matter of minutes, but today I wanted to do everything by hand
As soon as there is no flour left in the bowl, pour the melted butter into the dough; it should be warm, but not hot
And now we finally knead the dough. Manually this takes approximately 5-7 minutes or 3-4 minutes at medium speed of a planetary mixer.
The dough should not be thick, it is rather soft, even sticky, but do not add more flour!
Next, take a little vegetable oil into your palm and grease the dough on all sides
Cover the bowl with a lid, cling film, or a damp towel and place in a warm place to rise
As usual, I use the oven with the light on or the “low heat” setting for this
You can prepare these buns with either milk or water, but from my own experience, I will say that it is better to take half and half milk and water
Lightly flour the work surface, lay out the dough, fold the edges towards the center, and turn it over
We need to divide the dough into 20 identical pieces. To do this, divide it into 2 equal parts, and then each into another 10
Thus, all our pieces turn out the same. Lightly sprinkle them with flour and roll them into balls
Cover the dough with a towel and leave it on the table to rest for 10 minutes
In the meantime, prepare the baking sheets, and cover them with parchment paper, Teflon, or, in my case, a silicone mat
After 10 minutes, we finally form even balls and place them in a checkerboard pattern on a baking sheet
Place the dough at a considerable distance from each other, because… During proofing and baking, the buns will greatly increase in volume.
The dough is spread out, put it in a slightly warm oven for proofing, at this moment the temperature in the oven with the door closed and the light on is 38-40°C (100-104°F)
During proofing, the buns will increase in volume by 2-3 times, in my case, it took 40 minutes
And before we take them out of the oven, let’s prepare the lesson. To do this, beat the egg into a separate small bowl, mix it lightly with a whisk, pour in the milk, and bring the mixture until smooth. When the lesson is ready, take out the buns to grease them and immediately switch the oven to 180°C (356°F)
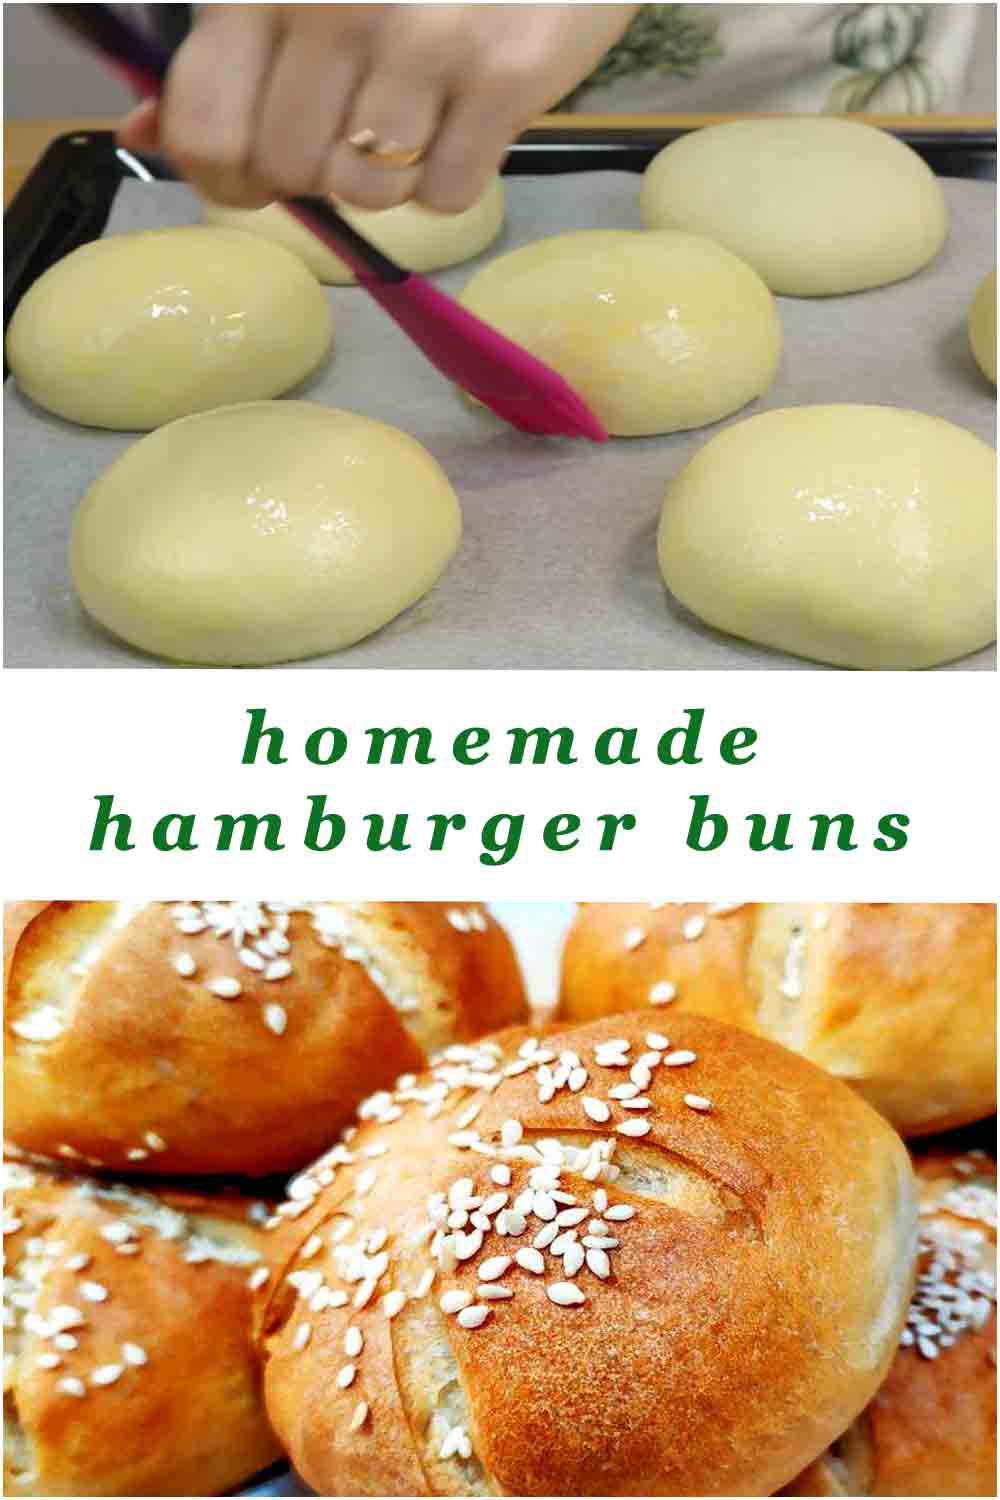
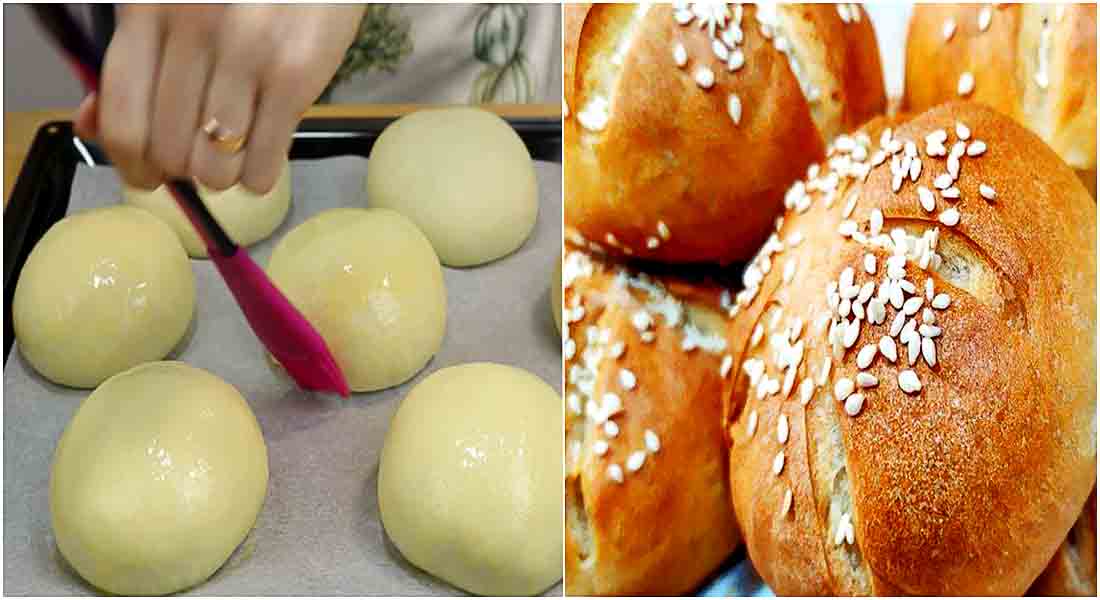
While it’s heating up, let’s grease our future buns with the prepared lesson to give them a golden-brown, glossy crust. This must be done very carefully so as not to upset the well-suited dough
Sprinkle sesame seeds on top of the buns – this is a classic option, but you can sprinkle your baked goods with poppy seeds, black sesame seeds, flax, sunflower, or pumpkin seeds
Place the baking sheets in an oven preheated to 180°C (356°F) and bake the buns until fully cooked
This process, as a rule, takes 20-25 minutes; in the “convection” mode, my buns were ready in 15 minutes, so take them out
Let them stand for 5 – 10 minutes and they are ready to serve
They are very soft, tender, and almost weightless, one might say that the dough is like fluff
As you have seen for yourself, making delicious and proper buns is not difficult, and there is no special secret here
Now that it’s ready, we can get a little creative and cook it with different toppings, all to your taste
Put the image below on one of your Pinterest boards so you always have it around for reference. By doing this, we may also continue to get support from Pinterest